This tutorial demonstrates the process for sewing and assembling a professional, Muppet-style puppet. If you don’t know how to sew, it’s not hard to learn. If you have access to a machine and a mature individual to teach you, politely insist on lessons. And if you don’t have access to a machine, you can still make this puppet by hand. It will take a little longer but you’ll grow so much during the process.
If you are just joining us, you will want to start with our previous tutorial, ‘How to Make a Puppet: Pattern and Materials for a Penguin’.

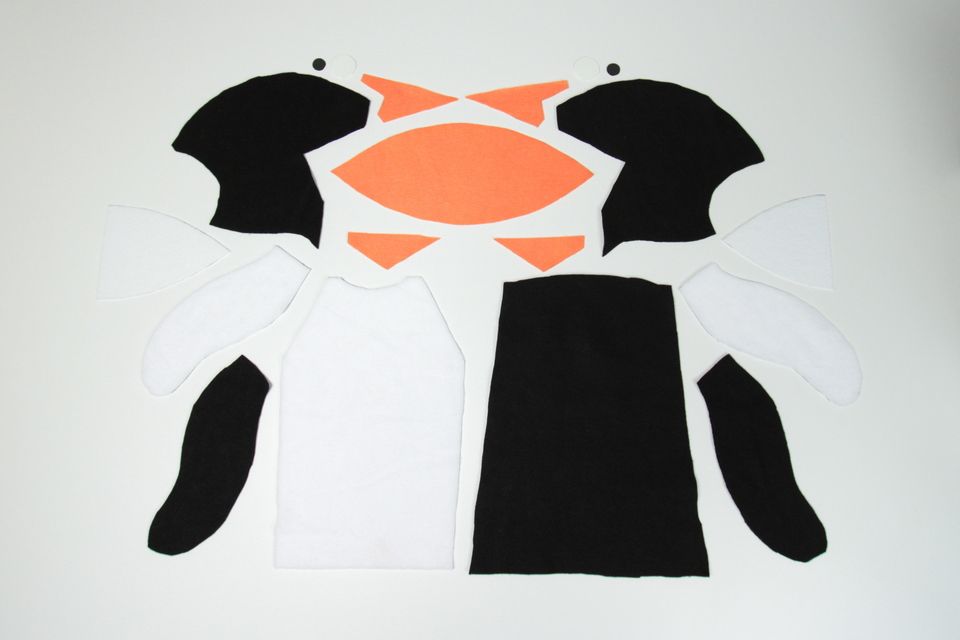
Let’s begin with the beak. To stay organized, lay the pieces out as above, right side up.


Now flip the beak pieces over onto the head pieces, aligning the bottom corner, as pictured above, and pin the beak and head pieces together, as shown below. Note that the right side of the head and the beak pieces are facing.


Next, sew the beak pieces and head pieces together, but only along the edge pictured below.


Fold the beak piece so that the opposite side of its ‘square’ edge is aligned with the head pattern, then pin and sew this edge, and only this edge.


Your top beak pieces should now look like this…


As before, lay out the bottom beak pieces, right side up like so. Then flip them over, keeping the matching edge in alignment.


Then pin and sew.


Next, sandwich the two head pieces, right-side in and pin together.

Then sew.


Onto the body. Align the ‘shoulder’ of the white chest piece with the back, right-side in, as pictured below.

Pin the shoulder in place and and bend the chest piece so that it aligns with the remainder of the chest. Then pin and sew.


Stack the wing pieces together, right-side in then pin and sew. But don’t sew the top, square edge. We need to keep that open to turn the wings inside-out.


Now let’s attach the mouth. Spread the head open wide on the mouth plate and match the point of the top beak with one of the points of the mouth plate.

Pin the head to the mouth, spreading and flatting as you proceed from top beak to bottom beak.


We intentionally designed the pattern so that there will be excess material on the mouth piece. With your best sewing scissors, trim away the excess.

Lastly, trim off the very tip of the beaks, being careful not to cut the stitches.


Next, glue the mouth plates to the mouth, being sure to properly align them so that the larger mouth plate is on the top of the mouth and the smaller on the bottom.


After the glue dries, turn your head inside-out. The puppet’s head.


Lay your body chest up on a flat surface and your head top down, as pictured. Insert the head into the body through the neck hole.


Align the neck of the head with the neck of the body and pin together. Then sew.


Lay your puppet on its side and place one of the wings along the seam between the chest and the back, with the tip of the wing roughly an inch above the bottom edge of the puppet.

Then flip the wing over, vertically, pin in place, and sew to the body.

And repeat.


And using your very strong adhesive, glue the white eye pieces to the puppet head. When those dry, glue the pupils to the white eye pieces.

Congratulations! Now go create an educational web series.